Table of Contents
ToggleShipping containers are no longer just stacking up at ports, they’re being transformed into livable, stylish, and surprisingly practical homes across the country. Tiny container homes blend affordability with durability, offering a DIY-friendly alternative to traditional housing that can withstand everything from hurricanes to heavy snow loads. Whether you’re downsizing, seeking an off-grid retreat, or simply looking to cut housing costs, these steel boxes provide a solid foundation, literally. But converting a container into a comfortable living space requires more than wishful thinking. You’ll need to navigate insulation challenges, zoning restrictions, and structural modifications while keeping your budget in check.
Key Takeaways
- Tiny container homes offer a durable, affordable alternative to traditional housing, with steel frames that resist winds up to 175 mph and cost $150–$250 per square foot for a bare shell.
- Effective insulation with spray foam (3–4 inches for R-20 to R-28) and vapor barriers are mandatory for container homes to prevent condensation, mold, and temperature swings.
- A single 40-foot container home costs $18,000–$42,000 for DIY materials or $50,000–$100,000 professionally built, with hidden costs for permits, engineering, site prep, and utility hookups.
- Zoning laws vary significantly by location—many municipalities restrict container homes to accessory dwelling units or rural areas, so verify local codes and permit requirements before purchasing a container.
- The hybrid DIY approach (hiring professionals for structural steel, insulation, and utilities while handling finishes) balances cost savings with quality and code compliance.
- Careful space planning with vertical storage, multi-container designs, and proper window placement maximizes the limited square footage of tiny container homes.
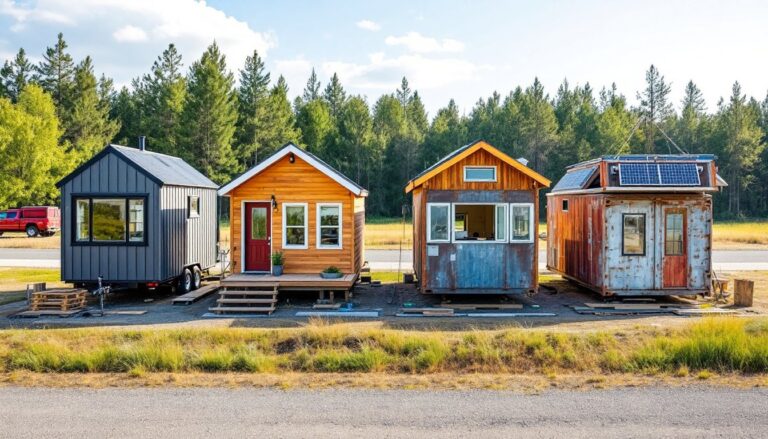
What Are Tiny Container Homes?
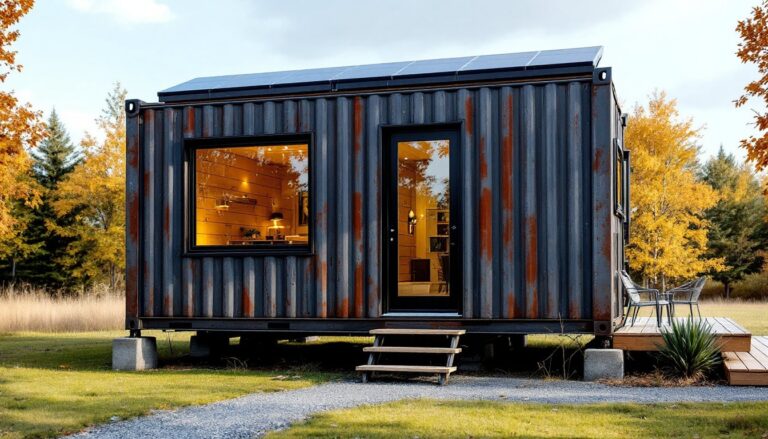
A tiny container home is a dwelling built from repurposed shipping containers, typically the 20-foot (160 square feet) or 40-foot (320 square feet) models originally designed for international freight. These ISO-standard containers are constructed from 14-gauge corrugated steel, with corner posts rated to support stacking loads exceeding 200,000 pounds.
Most builders prefer one-trip containers (containers that made a single voyage from factory to port) because they’re structurally sound and free of rust or serious dents. Used containers cost less but may require more prep work to address corrosion or structural damage. The steel frame can be cut, welded, and modified to add windows, doors, and multiple-container configurations, though any cutting of corner posts or top/bottom rails compromises structural integrity and requires engineered reinforcements.
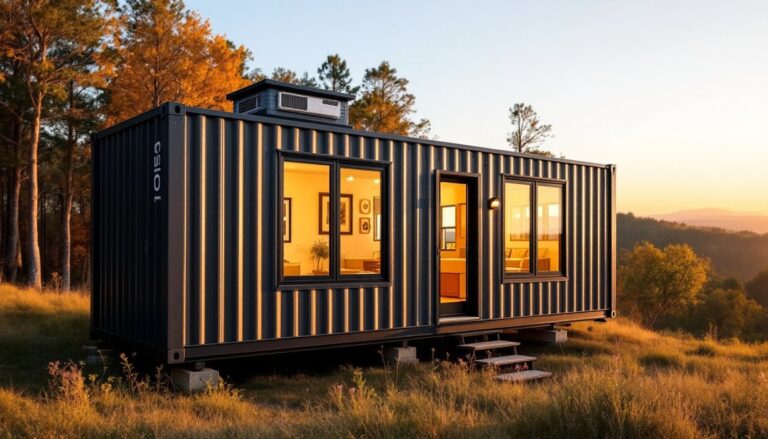
Standard container dimensions are 8 feet wide by 8.5 feet tall (externally), with high-cube containers offering an extra foot of ceiling height at 9.5 feet. Wall thickness runs about 2 inches, stealing some interior space. Many creative small-space designs use multi-container layouts, stacking or joining units to create two-story homes or open-plan living areas.
Why Choose a Container Home Over Traditional Tiny Houses?
Container homes offer distinct advantages over wood-framed tiny houses on wheels or traditional stick-built structures. The steel frame is pest-proof, fire-resistant, and capable of withstanding wind loads up to 175 mph when properly anchored, making them ideal for coastal or tornado-prone regions.
Structural strength is a major selling point. The corner posts and rails form a load-bearing skeleton that doesn’t rely on interior walls, giving you layout freedom traditional framing can’t match. You can cut out entire wall sections for floor-to-ceiling glass without compromising the box’s integrity, as long as you don’t remove corner posts.
Speed of construction beats site-built alternatives. A delivered container is already weatherproof: you’re retrofitting rather than building from scratch. DIYers can have a basic shell ready in weeks versus months for traditional framing. Modular design also simplifies expansion, add another container when you need an office, guest room, or workshop.
Cost per square foot runs $150–$250 for a bare container shell, compared to $100–$200 per square foot for conventional tiny house framing. But, containers require less foundation work than permanent structures, pier foundations or concrete footings at the four corners are often sufficient, whereas traditional homes need full perimeter foundations. Sites discussing modern container architecture often highlight this cost-efficiency and design flexibility.
Designing Your Tiny Container Home: Layout and Space Optimization
Maximizing usable space in a container home requires ruthless planning. Start by subtracting 4 inches from the 8-foot interior width for insulation and finish walls, leaving roughly 7 feet 8 inches of livable width, tight enough that furniture placement becomes critical.
Vertical storage is non-negotiable. Install floor-to-ceiling cabinetry, wall-mounted shelving, and lofted sleeping areas to reclaim square footage. A Murphy bed or fold-down table can double a living area’s functionality. Many builders place the kitchen and bath at one end, using the plumbing core to simplify utility runs and leave the opposite end open for living space.
Fenestration (window and door placement) dictates natural light and ventilation. Containers have no windows by default: you’ll need to cut openings and frame them with steel header plates to transfer loads around the cutout. Standard residential windows fit, but you’ll weld or bolt a steel frame into the corrugated wall first. Plan for cross-ventilation, windows on opposite walls, since steel conducts heat and containers can become greenhouses in summer.
Multi-container designs unlock larger layouts. Stacking two 40-foot containers creates 640 square feet across two floors, connected by an internal or external staircase. Joining containers side-by-side (removing one long wall) produces open-plan spaces up to 16 feet wide, though this requires engineered I-beams to replace the removed load-bearing wall.
Insulation and Climate Control Essentials
Steel is a thermal conductor, bare containers swing from freezing to scorching within hours. Effective insulation is mandatory, not optional. Spray foam insulation (closed-cell polyurethane) is the gold standard, offering R-6 to R-7 per inch and sealing the corrugated ridges that trap condensation. Apply 3 to 4 inches to interior walls and ceilings for a total R-value of R-20 to R-28, adequate for most U.S. climates.
Alternatives include rigid foam boards (cheaper but require careful sealing at seams) or mineral wool batts (fire-resistant but need a vapor barrier). Never use fiberglass batts alone: condensation will soak them and breed mold within months.
Vapor barriers are critical. Steel doesn’t breathe, so moisture from cooking, showering, and breathing has nowhere to go. Install a continuous vapor barrier on the warm side of the insulation (interior in cold climates, exterior in hot-humid zones). Pair this with mechanical ventilation, either an HRV (heat recovery ventilator) or ERV (energy recovery ventilator), to exchange stale indoor air without losing conditioned temperature.
HVAC sizing is tricky. A well-insulated 320-square-foot container needs only 6,000 to 9,000 BTU of cooling and a small electric heater or mini-split heat pump for heating. Oversized units short-cycle and fail to dehumidify. Consult Manual J load calculations or hire an HVAC tech, guessing leads to discomfort and wasted energy.
Cost Breakdown: How Much Does a Tiny Container Home Really Cost?
Budgeting for a container home depends on whether you DIY or hire out. Here’s a realistic breakdown for a single 40-foot container (320 square feet), moderately finished:
Materials and container:
- Used 40-foot container: $2,000–$4,500 delivered
- One-trip container: $4,500–$7,000 delivered
- Foundation (pier or slab): $1,500–$3,500
- Insulation (spray foam, pro install): $2,500–$4,000
- Windows and doors (three double-hung, one entry): $1,200–$2,500
- Interior framing and drywall: $1,500–$3,000
- Flooring (vinyl plank or laminate): $600–$1,200
- Electrical (wire, panel, fixtures): $1,500–$2,500
- Plumbing (PEX, fixtures, water heater): $2,000–$3,500
- HVAC (mini-split): $1,500–$3,000
- Kitchen and bath (budget finishes): $3,000–$6,000
- Exterior paint or siding: $800–$1,500
Total material cost (DIY labor): $18,000–$42,000, depending on finishes and whether you tackle all trades yourself. Regional material costs and delivery fees can swing this by 20% or more.
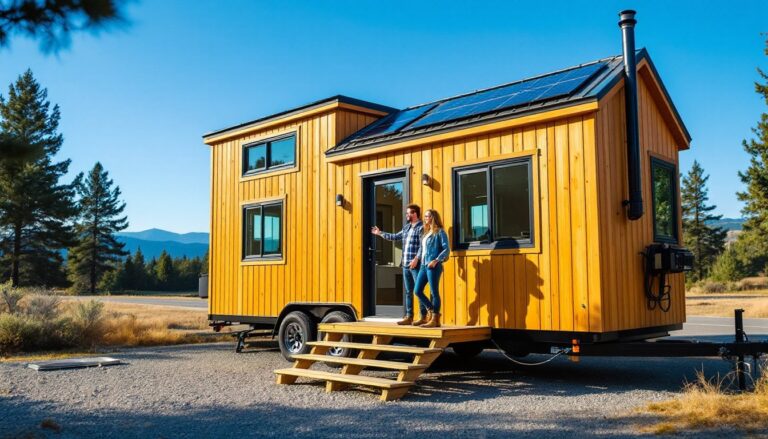
Professional build (turnkey): $50,000–$100,000 for a fully finished, permitted container home. Custom designs, high-end finishes, and off-grid systems (solar, composting toilet, rainwater catchment) push costs higher. Builders often charge $150–$250 per square foot, on par with conventional construction once you factor in engineering, permits, and specialized labor for steel cutting and welding.
Hidden costs to budget for:
- Engineering and architectural plans: $1,500–$5,000
- Permits and inspections: $500–$2,500 (varies widely by jurisdiction)
- Site prep and utility hookups: $2,000–$10,000+
- Crane or forklift rental for container placement: $500–$1,500
- Transportation beyond standard delivery radius: $2–$5 per mile
Used containers save upfront cash but may need rust remediation, floor replacement, or structural welding, costs that erode the discount. One-trip containers cost more but require less prep, saving time and headaches.
Zoning, Permits, and Legal Considerations
Zoning is the first hurdle. Many municipalities classify shipping containers as temporary structures or commercial cargo equipment, barring them from residential zones. Others allow them only as accessory dwelling units (ADUs) on lots with an existing primary residence. Rural counties and unincorporated areas tend to be more permissive, but always verify local codes before buying a container.
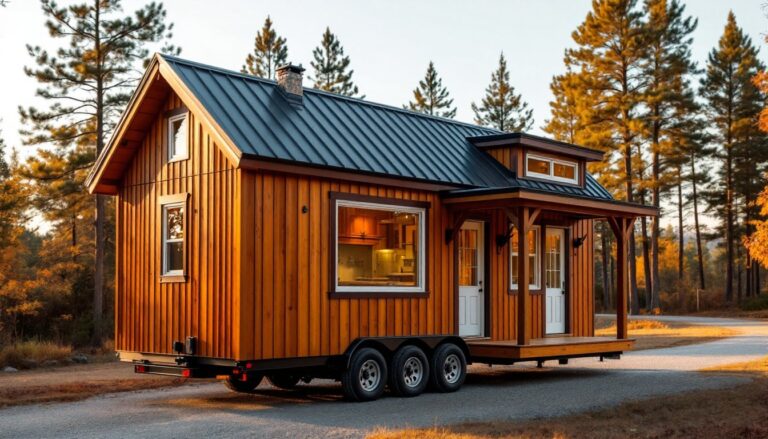
Some jurisdictions require containers to be clad in traditional siding (fiber cement, wood, or vinyl) to meet aesthetic standards. This adds cost but can help containers blend into neighborhoods and satisfy homeowners’ associations. Check if your area has minimum square footage requirements, some towns mandate 600+ square feet for a primary dwelling, ruling out single-container homes.
Building permits are typically required for any structure with plumbing, electrical, or permanent foundation. Expect to submit:
- Engineered structural plans showing load calculations, foundation design, and any modifications to the container’s frame
- Electrical plans compliant with National Electrical Code (NEC)
- Plumbing plans meeting International Residential Code (IRC) standards
- Energy code compliance (insulation R-values, HVAC efficiency)
Some building departments lack experience with container homes and may request additional documentation or deny permits outright. Hiring an engineer familiar with container construction smooths the process. Communities exploring tiny home regulations have found that proactive communication with local building officials often clarifies requirements.
Foundation requirements vary. Containers on adjustable pier foundations may be classified as non-permanent, avoiding some permit requirements but also complicating financing and insurance. Permanent foundations (concrete footings or slab) satisfy most codes and lenders but add cost.
Utilities follow standard permitting. If connecting to municipal water/sewer, expect tap fees and inspections. Off-grid setups (septic, well, solar) require separate permits and must meet health department and electrical code standards. Installing a composting toilet sidesteps septic costs but may not satisfy code for a primary residence in all areas.
Insurance can be tricky. Some carriers won’t insure container homes: others require certification that the structure meets IRC standards. Shop around and bring your engineered plans, proof of code compliance helps secure coverage.
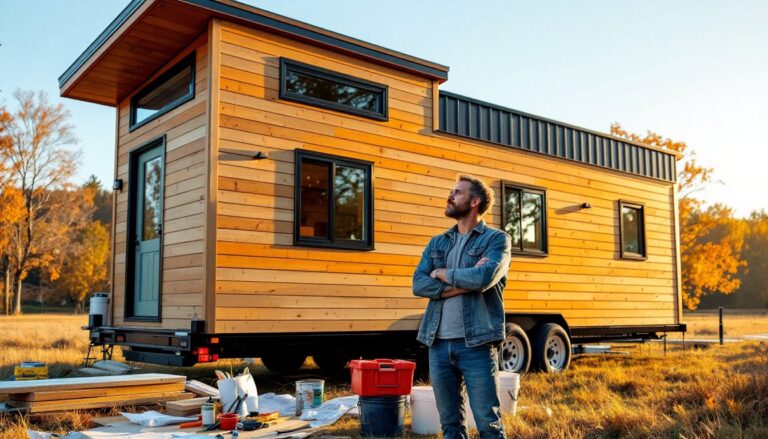
DIY vs. Professional Build: What’s Right for You?
DIY container builds appeal to experienced renovators comfortable with structural steel, welding, and multi-trade coordination. If you’ve framed walls, run electrical, and soldered copper (or at least PEX), you can handle most tasks, but cutting and reinforcing steel requires tools and skills beyond typical carpentry.
Essential tools for DIY:
- Angle grinder or plasma cutter for cutting steel (a reciprocating saw with metal-cutting blades works but is slower)
- MIG welder for structural repairs and framing window/door openings
- Drill and metal-cutting hole saws for utility penetrations
- Standard carpentry tools (circular saw, miter saw, drill/driver, level)
- Spray foam rig (rental) or hire out insulation, DIY spray foam rarely matches pro results
Safety gear is non-negotiable: welding helmet, cut-resistant gloves, respirator for grinding and spray foam, hearing protection, and steel-toed boots. Cutting corrugated steel produces sharp edges and metal shards, eye protection is mandatory.
What to DIY:
- Interior framing (wood studs over spray foam)
- Drywall, flooring, painting
- Basic electrical (if comfortable with code and willing to have an inspector review)
- Plumbing rough-in (PEX is DIY-friendly: hire a pro for final connections and pressure testing)
- Window and door installation (after pro cuts and frames openings)
What to hire out:
- Structural steel cutting and welding (unless you’re a certified welder, mistakes compromise the entire structure)
- Spray foam insulation (even coverage and proper R-value require experience)
- HVAC sizing and installation (undersized or oversized systems waste money)
- Electrical service panel and main connections (code requires licensed electrician in most areas)
- Final plumbing connections and code inspections
- Engineering and permitting (navigating code officials is worth the cost)
Hybrid approach works well: hire pros for steel work, insulation, and utilities: DIY the finishes. This balances cost savings with quality and code compliance. Platforms like Apartment Therapy showcase DIY container projects that used this model successfully.
Be honest about time. A solo DIYer can expect 6–12 months of weekends and evenings to reach move-in condition. Full-time work accelerates this to 3–6 months, assuming no permit delays. Professional builds take 3–6 months start to finish, with fewer surprises.
Permits and inspections apply regardless of who swings the hammer. DIYers must schedule inspections at roughed-in stages (foundation, framing, electrical, plumbing) before closing up walls. Failing an inspection means tearing out work, costly in time and materials. If you’re unfamiliar with local code, hire an electrician or plumber to review your work before calling the inspector.
Container homes aren’t a shortcut to free housing, but they’re a proven path to affordable, durable living if you plan carefully. Whether you’re cutting steel yourself or hiring a turnkey builder, understanding the process keeps your project on track and your budget intact. For those just starting their research, comprehensive planning resources and examples of successful builds offer valuable insights. Publications like Curbed regularly feature innovative container home projects and design trends worth exploring.